
Showing posts with label Horz. Stabilizer. Show all posts
Showing posts with label Horz. Stabilizer. Show all posts
Sunday, October 30, 2016
Horizontal Stabilizer complete
1.5 hrs. This week I was able to rivet half of the top side, and today my son and I completed the remaining rivets. For some reason I had extra 4x10mm rivets and ran out of the 3.2x8mm. Hopefully there is enough in the empennage kit to balance this out.
 My thoughts so far on the Sling 4 kit compared to the Sonex. No fabrication! No pilot hole drilling, and upsize drilling, a lot less debuting, and very little hole reaming is required. The kit so far is going together well. I'm sure if the kit were home in my garage workshop where I built the Sonex the empennage would be done by now. But building at my hangar is slow, and mostly limited to weekends.
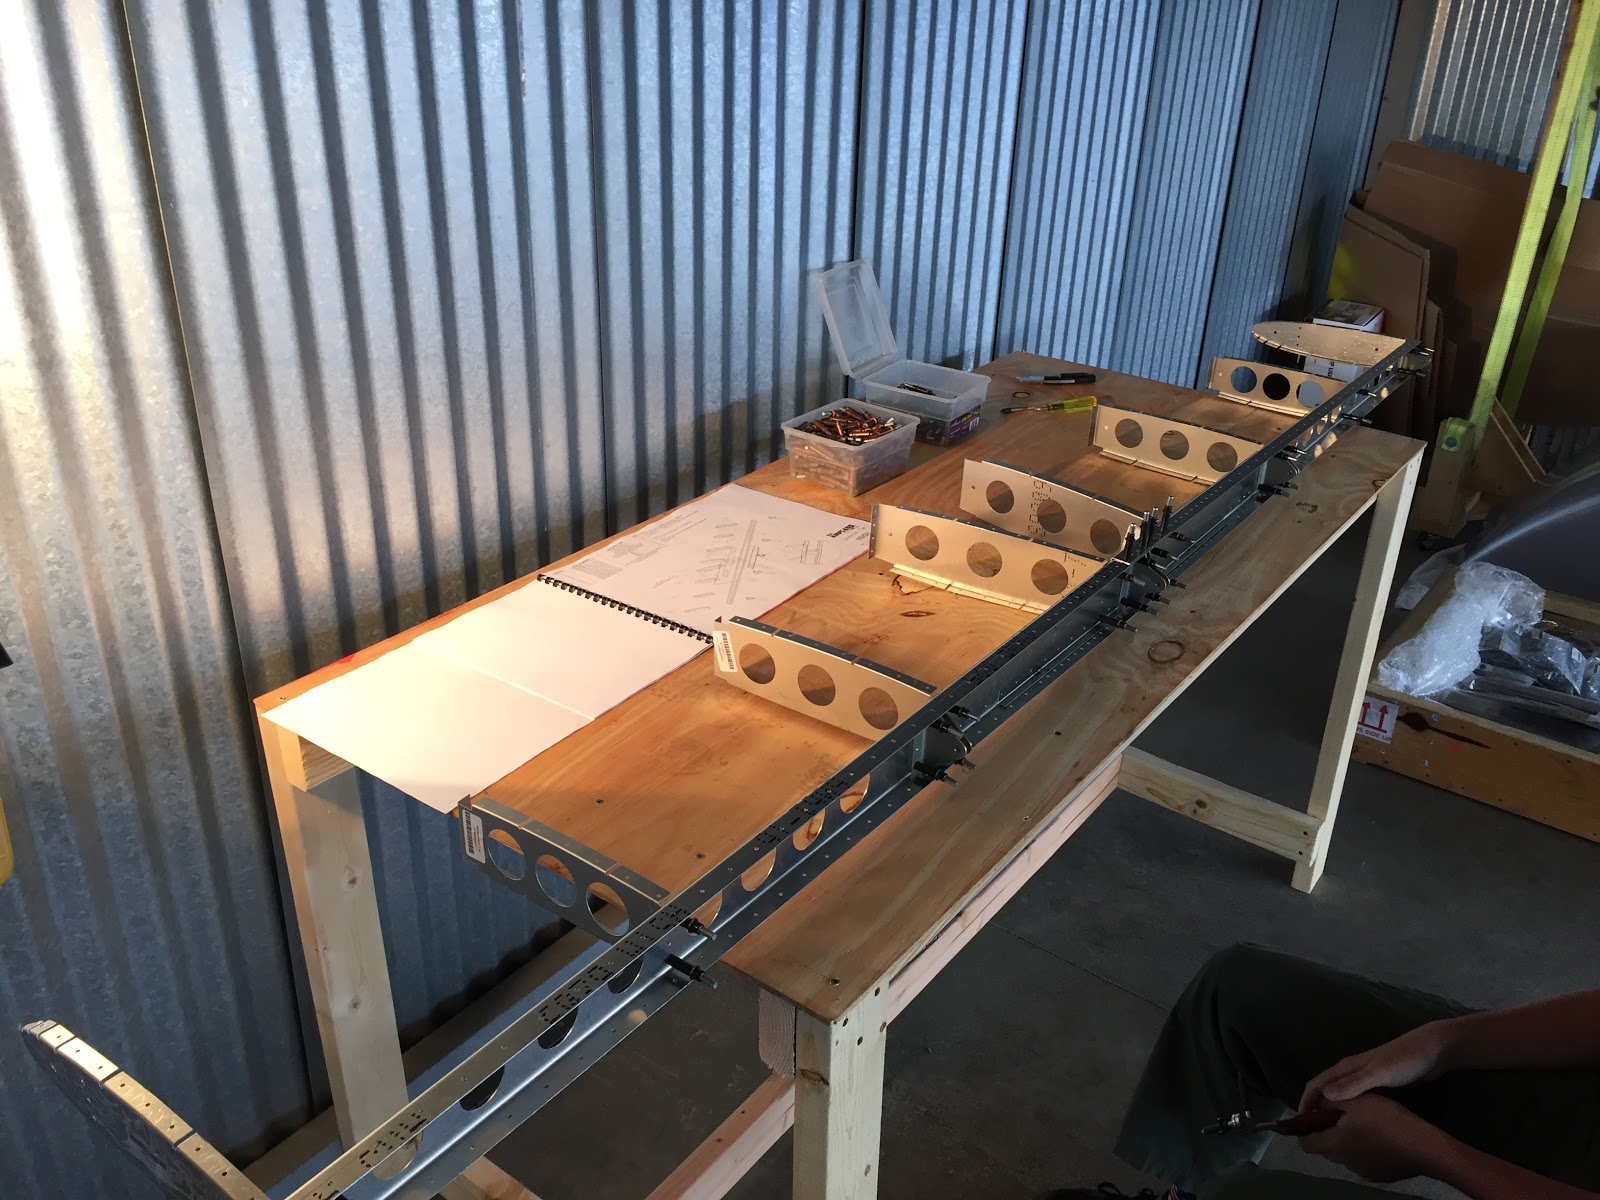
Monday, October 3, 2016
Horizontal Stabilzer - rear spar & ribs
2 hrs. - Completed priming, and installed some carpet tiles on my workbench.
Was able to reassemble the 1st page of the horizontal stabilizer plans/parts with clecos. It's now ready to rivet together.
 Riveted and completed:

Was able to reassemble the 1st page of the horizontal stabilizer plans/parts with clecos. It's now ready to rivet together.


Saturday, October 1, 2016
Empennage progress - Horizontal Stabilizer
3 hrs. completing the inventory for the empennage kit, my son and I jumped right into the first page of the build manual:

Gathering up the parts, we temporarily fastened them together with the appropriate sized clecos (black and copper (5/32" and 1/8"). It went together quickly and was impressed with the "match hole" tooling and parts forming.

 I took all of the pieces apart, and made sure the edges and holes were properly deburred...this is important for eliminating future stress cracks/fracutures. I'm following The Airplane Factory recommendation for priming the mating surfaces. Used a process of cleaning with Simple Green and scotchbrite pad, then dry, and spray with a self etching primer.


Gathering up the parts, we temporarily fastened them together with the appropriate sized clecos (black and copper (5/32" and 1/8"). It went together quickly and was impressed with the "match hole" tooling and parts forming.


Subscribe to:
Posts (Atom)